Xcem
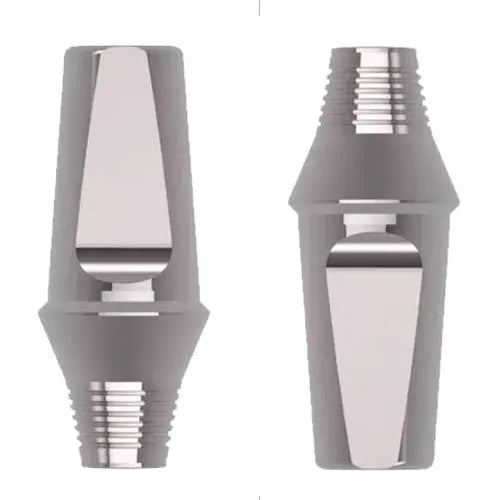
Xcem Dental Implant Transfer Abutment Mini - Non Hex
Xcem Dental Implant Transfer Abutment Mini - Non Hex
Couldn't load pickup availability
Features
Features
- Non-Hex Design: Unique non-hexagonal connection for compatibility.
- Compact: Designed for use in confined spaces.
- 1.2 Hex Driver: Requires a 1.2 hex driver for secure placement.
- Narrow Joining Torque: Ensures stable connection with a narrow torque.
- Versatile Sizes: Available in multiple sizes for various gum dimensions.
- Sterilized and Disposable: Hygienic, one-time use with sterile packaging.
- Cement-Retained Abutments: Specifically designed for cement-retained applications.
- Bridge Construction: Well-suited for connecting dental prosthetic units like bridges.
Description
Description
Xcem Dental Implant Transfer Abutment Mini - Non-Hexa has a pivotal role in dental prosthetics, particularly when establishing connections between dental prosthetic units, such as in the construction of bridges. Unlike hexagonal counterparts, non-hex abutments offer an alternative connection design, providing versatility and compatibility with various implant systems. This adaptability is especially valuable in cases requiring the connection of dental prosthetic units, where the absence of a hexagonal shape allows for a broader range of options. Using non-hex abutments ensures a secure and stable connection, contributing to prosthetic restorations like bridges' overall success and durability. This design choice is often made to accommodate different clinical scenarios, offering dental professionals flexibility in treatment planning and ensuring optimal outcomes in prosthetic dentistry.
Specification
Specification
- Diameter: 4.5mm
- Height: 4mm, 5.5mm and 7mm
- Gingival Height: 1mm to 5mm
Packaging
Packaging
- 1 x Transfer abutment
- 1 x Abutment screw
Direction to use
Direction to use
Patient Evaluation:
- Assess the patient's oral health and suitability for dental implant procedures.
- Consider factors such as bone quantity, occlusion, and adjacent tooth relationships.
Treatment Planning:
- Collaborate with the surgical team and dental technician to create a comprehensive treatment plan based on patient needs.
Impression Taking:
- After the healing period for osseointegration (3-6 months), take impressions using appropriate materials.
Selecting Abutment Type and Size:
- Choose the non-hex abutment based on X-ray findings and the relationship with adjacent teeth.
- Select the size that matches the patient's gum dimensions.
Sterilization:
- Sterilize the non-hex abutment before installation. Use an autoclave with a temperature of 121°C for at least 30 minutes.
Placement in Mouth:
- Place the abutment in the patient's mouth after the healing period.
Final Impression:
- Take a final impression with the installed abutment in place.
Restoration:
- If the selected abutment is a cement-retained type, create a restoration by waxing up the abutment on a plaster cast.
Verification of Occlusion:
- After restoring, place the final restoration in the patient's mouth and verify occlusion with upper and lower surfaces.
Torque Application:
- When connecting the abutment to the fixture, follow recommended torque values (e.g., 30-35N/cm²).
Final Check:
- Ensure proper fit, stability, and aesthetics of the prosthetic restoration.
Additional info
Additional info
Warranty
Warranty
Product Related Questions
Product Related Questions
Share